# Contribute to Documentation locally
If you prefer to work in local environment with the benefits of syntax highlighting, spell checking, version control and visual feedback, it is possible to do so and the contributions that you make can then be submitted via the process know as 'Pull Requests'.
This requires a little bit more setup, but if you are a developer most of the required tools are probably installed on your machine anyway.
# Technology stack
We use the following tools to write, build and deploy the documentation.
- GIT (opens new window) (for version control)
- Github-Actions (opens new window) (for Continuous Integration / Continuous Delivery)
- .NET (opens new window) (for the build pipeline)
- NodeJS (opens new window) (for writing the docs)
The documents are written in markdown (opens new window) to allow for easy versioning and consistent styling.
You can use a text-editor or IDE of your choice. Visual Studio Code VSCode (opens new window) is recommended because it provides a couple of handy extensions that help with writing documentation.
# Prerequisites
- Install VSCode (opens new window) (optional)
- Install GIT (opens new window)
- Choose
Use Visual Studio Code as GIT's default editor(optional)
- Choose
- Install .NET SDK (opens new window)
- We use the stable release, so choose the
recommendedversion for your platform
- We use the stable release, so choose the
- Install NodeJS (opens new window)
- We use the LTS release, so choose the
LTS Recommended For Most Usersversion for your platform
- We use the LTS release, so choose the
CAUTION
If the tools mentioned above are already installed please ensure that they are up to date with the latest releases. Failure to do this may mean that it is impossible to build the documentation without encountering errors.
TIP
If you do not have a Git Hub account (opens new window) this would be the ideal time to set one up.
CAUTION
When setting up a new Git Hub account choose your username carefully. It is notoriously difficult to change at a later date.
# Clone the sources
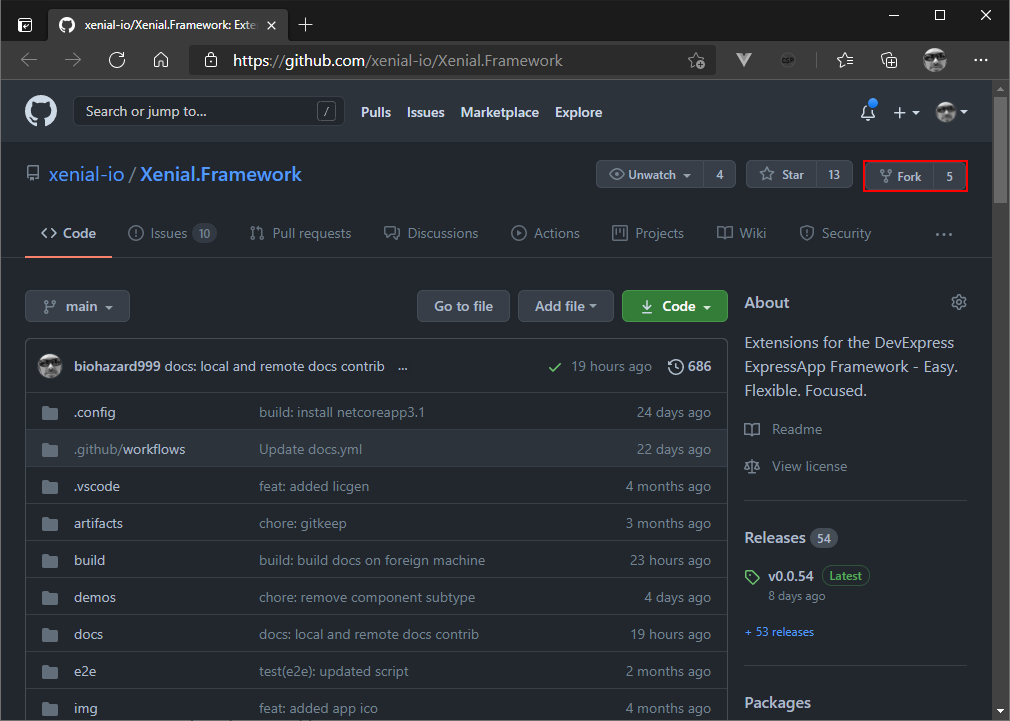
First of all you need to fork the repository (opens new window) on github (opens new window).
Afterwards you need to clone the repository from your fork. To do that you need to copy your url under the code button.
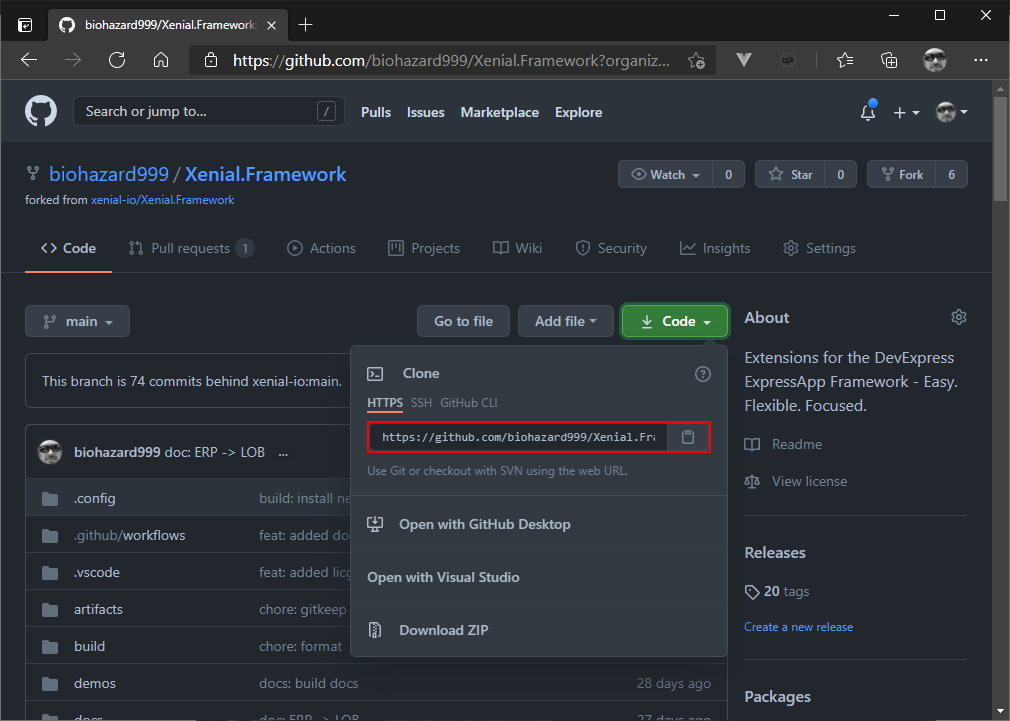
git clone https://github.com/YOUR_GITHUB_NAME/Xenial.Framework.git
If you never worked with git before, its necessary to set your name and email address to start contributing:
git config --global user.email "you@example.com"
git config --global user.name "Your Name"
2
In order to be able to keep your fork in sync with the Xenial.Framework main repository it is necessary to set an upstream:
git remote add upstream https://github.com/xenial-io/Xenial.Framework.git
# Build the documentation
After cloning the repository you need to change the directory and call the b.bat file with the arguments docs. This will restore all the external dependencies and build the documentation.
b.bat docs
TIP
You can list all available targets using the b.bat -l command.
# Live preview
You can edit the documentation with help of live preview. This is useful because you get immediate feedback after hitting save, as it automatically refreshes the content without the need to refresh the browser manually.
b.bat docs:serve
This will build the local documentation and launch a local server and browser window at the following address http://127.0.0.1:8080/ (opens new window).
TIP
You can edit all *.md content.
If you edit .vuepress/config.js or any frontmatter (opens new window) you need to restart the server by hitting ctrl+c to stop the server and confirming the kill by hitting [Y]es twice.
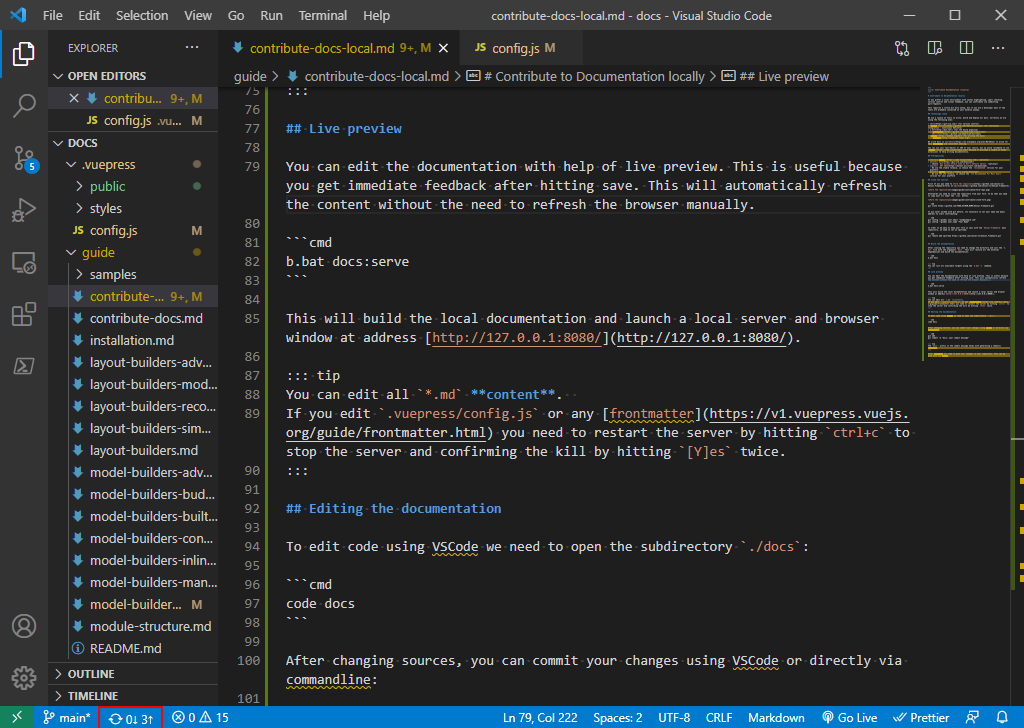
# Editing the documentation
To edit the documentation using VSCode open the subdirectory ./docs:
code docs
After you have made your changes to the source document, you can commit them using VSCode:

Or using the commandline:
git add .
git commit -m "docs: your commit message"
2
TIP
The docs: prefix in the commit message helps with generating a semantic changelog.
After committing you need to 'push' your changes to your repository. This can be done in VSCode:
Or using the commandline:
git push
# Keep your fork in sync
Because GIT is a decentralized version control system, you have a complete historical copy of all of the changes you have made, hence the name clone.
This means you need to keep your GIT repository in sync with the original upstream (opens new window) repository.
First you make sure that your repository has no uncommitted changes
git status

#
# On branch main
# Your branch is up to date with 'origin/main'.
#
# nothing to commit, working tree clean
#
2
3
4
5
6
7
8
git fetch upstream
git checkout main
git merge upstream/main
2
3
TIP
If you have already cloned the repository it is possible that you may have missed a step so, just as a gentle reminder: you must have configured your upstream at this stage:
git remote add upstream https://github.com/xenial-io/Xenial.Framework.git
Learn more about keeping repositories in sync over at github docs (opens new window).
Afterwards you can edit the documentation as you learned earlier.
PRO TIP
If you want to automate the process of automatically having your fork in sync , you may want to use pull bot (opens new window)
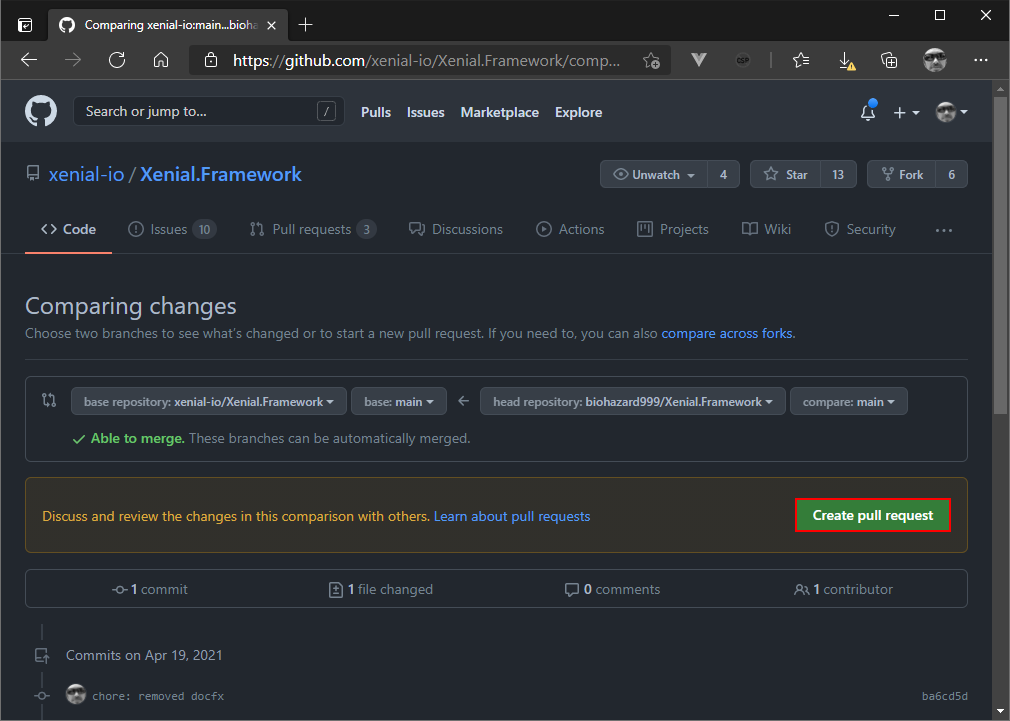
# Creating a pull request
The last step to aligning the changes that you have made with the original repository is to create a pull request (opens new window).
Navigate to your fork on github. For example https://github.com/YOUR_GITHUB_NAME/Xenial.Framework. Github will normally guide you through the process of creating a pull request once you have clicked on the Pull request link.
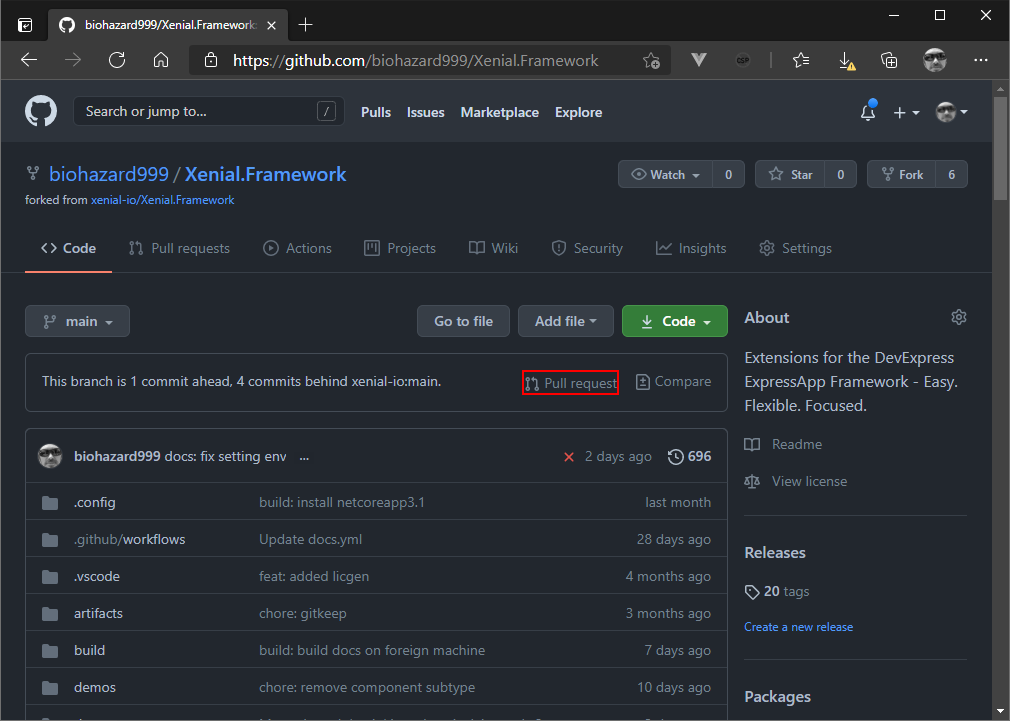
Make sure your source branch and the target branch are correct. By default this should be main. If you are a more advanced git user, you could of course create a separate branch.
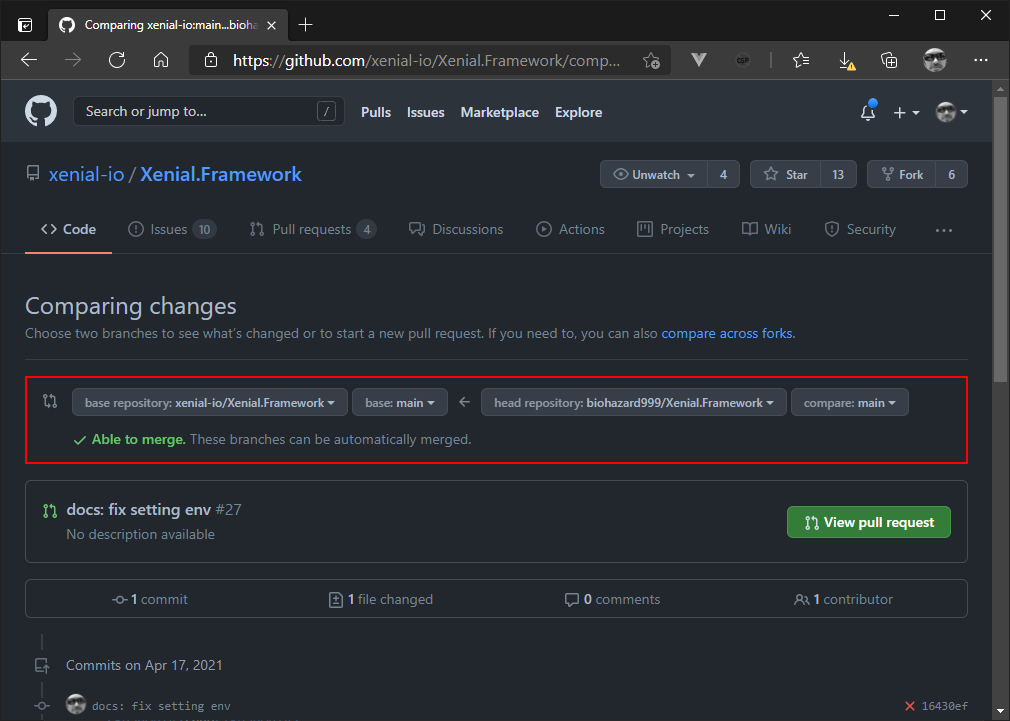
Afterwards you need to create the pull request: